Tuesday, August 9, 2011

Apricot Tarts' Best Bead Stores in Toronto pt. 2: Soo Ling Beads

As promised, I recently ventured further away from the downtown core - Dundas St. West and Ossignton Ave. to be exact - in search of unique and unusual beads, and stumbled upon Soo Ling Beads & Beading Co. Ltd. (what a mouthful)!


Getting There
Located at 1162 Dundas St. West
Take the 505 Dundas streetcar to Ossington Ave. or the 63 Ossington bus to Dundas St.

The Store
Soo Ling Beads is crammed with beads. They come in jars, in baggies, on strings and on boards. If you're looking for unusual and vintage (or vintage-looking) beads, this is the place to go. Soo Ling Beads stocks Peruvian hand painted beads, Czech glass beads, Indian carved bone beads, sequins, Venetian glass pendants and much, much more (as you can tell from the photos and the many jars). Many of the beads are displayed on boards, so ask the owner to take a look at the stock stored behind the counter.


I recently nabbed these beauties: vintage ceramic floral beads and carved bone moons. Watch out for them in my Etsy shop.


In the Neighbourhood
Little Portugal is the neighbourhood. Walk a bit west to Nova Era Bakery for some Portuguese custard tarts (and some squash tarts if you're feeling adventurous). Or, take a walk down Ossington Ave. towards Queen St. for your daily dose of the hip and happening.

See the first installment of Apricot Tarts' Best Bead Stores in Toronto.

Friday, August 5, 2011

City in Colour: Toronto Murals, Storefronts and Street Art (aka graffiti)

In every Toronto neighbourhood, from the dreary to the debonair, you're bound to turn the corner and stumble upon colour. Alleyways are teeming with murals - fresh-painted or peeling. Old ads and new ads can be found on the backs of brick buildings. Storefronts come in blue, green, and chicken.

Alleyway off Dundas St. West near Spadina Ave.
Victoria St. near Dundas St. East
Whether you're visiting Toronto or just strolling on a Sunday afternoon, I suggest ducking in a narrow byway, crossing downtown's disappearing parking lots, and taking in some free art, inspiration, and creativity.

Near York St. and Lake Shore Boulevard
Croft St.
Kensington Market

Mirvish Village
Mirvish Village
Baldwin St. and Huron St.

Sunday, May 15, 2011

Apricot Tarts' Best Bead Stores in Toronto pt. 1

Every jewelry maker needs supplies. From gorgeous gemstones to world beads to precious metals, Toronto bead stores have it all. Below, you'll find my recommendations for the best Toronto-area bead stores. The stores are selected based on quality, uniqueness, affordability, extensiveness of inventory and accessibility. I included a handy ‘In the Neighbourhood’ section for tourists and locals unfamiliar with the downtown core. I hope to add more stores to this list in the future, focusing on shops outside of downtown Toronto.

Arton Beads

Getting There
Located at 523/525 Queen St. West
Take the 501 Queen streetcar to Augusta Avenue or the 510 Spadina streetcar to Queen St and walk 2 minutes west.

The Store
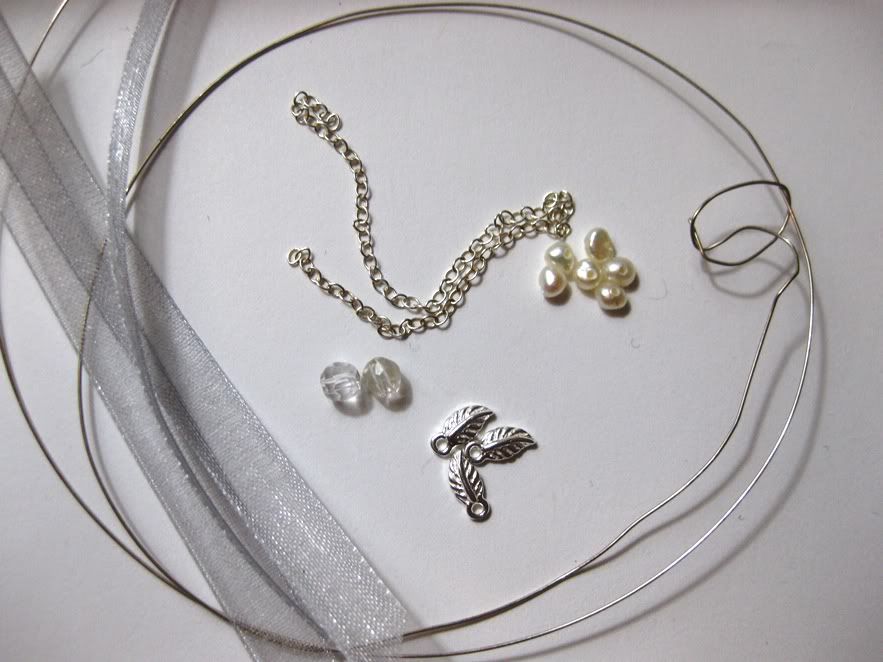
Arton Beads is in fact two bead stores. Number 523 supplies base metal findings and chain; plastic and glass beads; wood beads; ribbon and other stringing materials; base metal charms, etc. Number 525 supplies semiprecious stones; sterling silver, gold and vermeil findings, chain and beads; pearls and shell beads; Swarovski crystals; silk cord and other stringing materials, etc.

Peridot rondelles from a strand from Arton Beads.
Lapis lazuli drops sold loose at Arton Beads.
What makes it Special?
Semiprecious stones are mostly sold by strand, though larger stones are available loose. The stone selection is quite extensive, and most stones come in a variety of forms (e.g. various sizes of round, teardrop, nugget, faceted, and more).
Arton Beads is highly affordable. Many strands are sold for under $10, and with a membership card, all strands over $15 are 50% off (to get a membership card, you need to present receipts totaling $60). Make sure to ask whether the stones you are buying have been dyed, as many are not labeled.
The store’s selection of precious metal findings, chain and beads is also extensive. Findings are sold in packs and individually.

In the Neighbourhood
Queen St. between Spadina and Bathurst is chock-full of bead stores. For a change of pace, hop on the westbound Queen streetcar to Trinity Bellwoods park. Stroll through the park (the former home of Trinity College), gobble up some macaroons at Nadege Patisserie, and visit the quirky shops across from Trinity gate.

Courage My Love

Getting There
Located at 14 Kensington Ave
Take the 510 Spadina streetcar to Dundas St. and walk west on Dundas to Kensington Ave., or the 505 Dundas streetcar to Spadina Ave. and walk west on Dundas to Kensington Ave.

From Courage my Love
The Store
Courage My Love is primarily a vintage clothing, jewelry and knickknack store. However, they have a glorious collection of precious stones, semiprecious stones, vintage buttons, and world beads. Watch out for a small cabinet of sparkly gemstone strands and jewelry – it will take you breath away!

Bali bead caps from Courage my Love
What makes it Special?
Unique beads and findings are the standard at Courage My Love. Gorgeous sterling silver beads from Bali, brass beads from India and African trade beads are purchased directly from the source. Vintage and antique strands dangle overhead. Prices reflect the uniqueness of the beads.

In the Neighbourhood
Courage My Love is located in Kensington Market – a mishmash of vintage shops, specialty food stores (check out Global Cheese), restaurants and cafes that will keep you busy for a while. Or, head to Chinatown to grab lunch at Pho Hung and pick up some cheap fruits and vegetables from the market stalls spilling onto the street.

Earth Rocks

Getting There
Located at 758 Bathurst St.
Take the Boor-Danforth Subway to Bathurst Station and walk south on Bathurst St.

The Store
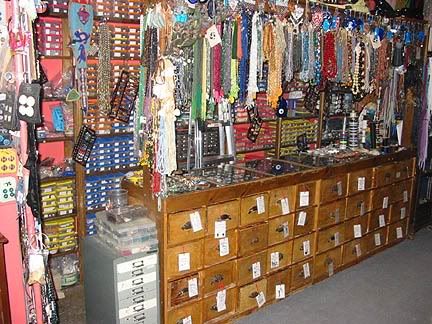
Earth Rocks can be found in the storefront of the bookstore Alternative Thinking. The small space is packed with loose semiprecious beads, organized by colour - just tell the owner what you’re looking for and he’ll pull up a tray. The store also carries findings, precious metal beads, chain, stringing materials, and the Earth Rocks line of jewelry.

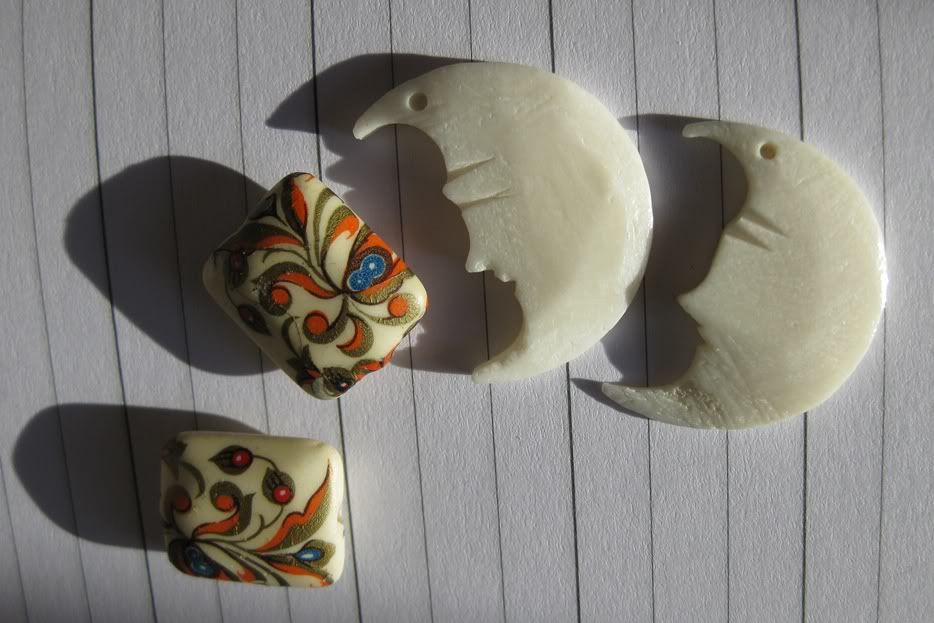
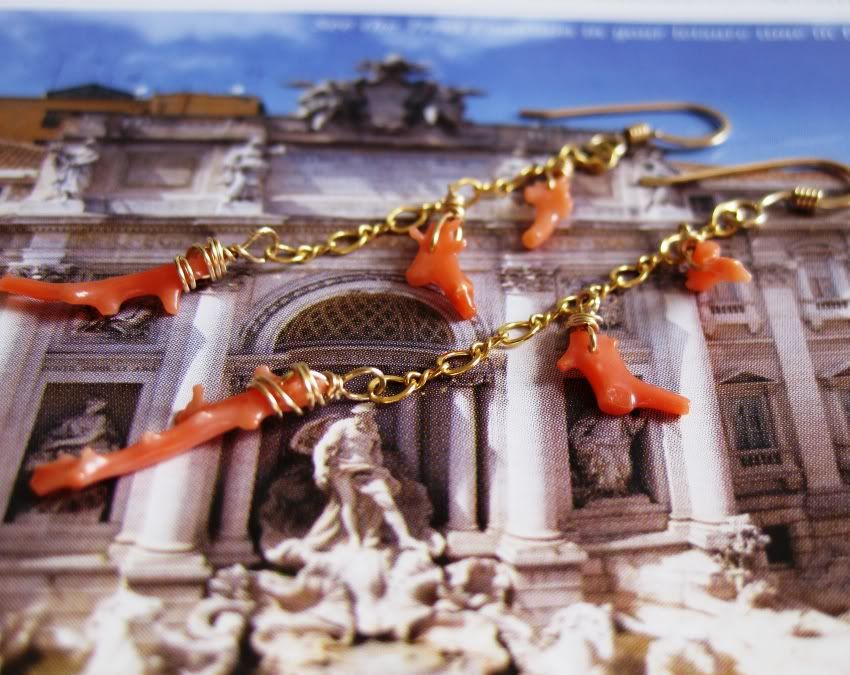
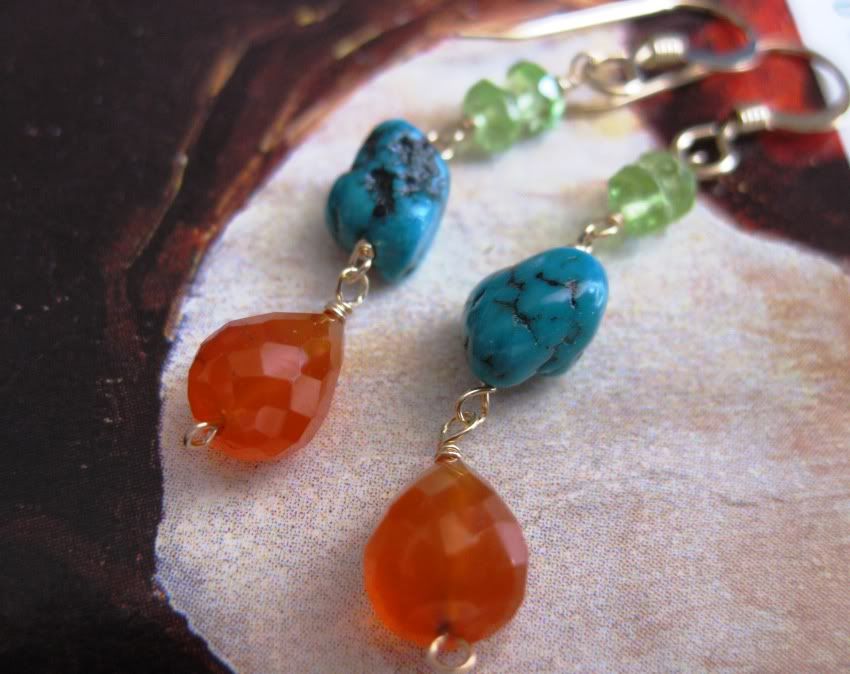
Carnelian drops and natural turquoise from Earth Rocks
What makes it Special?
For someone crazy about making earrings, having an accessible well-stocked store selling high quality loose stones is crucial. When I need a pair of focal beads, what am I going to do with a whole strand? Earth Rocks carries a wide variety of vibrantly coloured stones. The owner is also highly knowledgeable about his merchandise and the various stone families, and avoids dyed and synthetic stones.
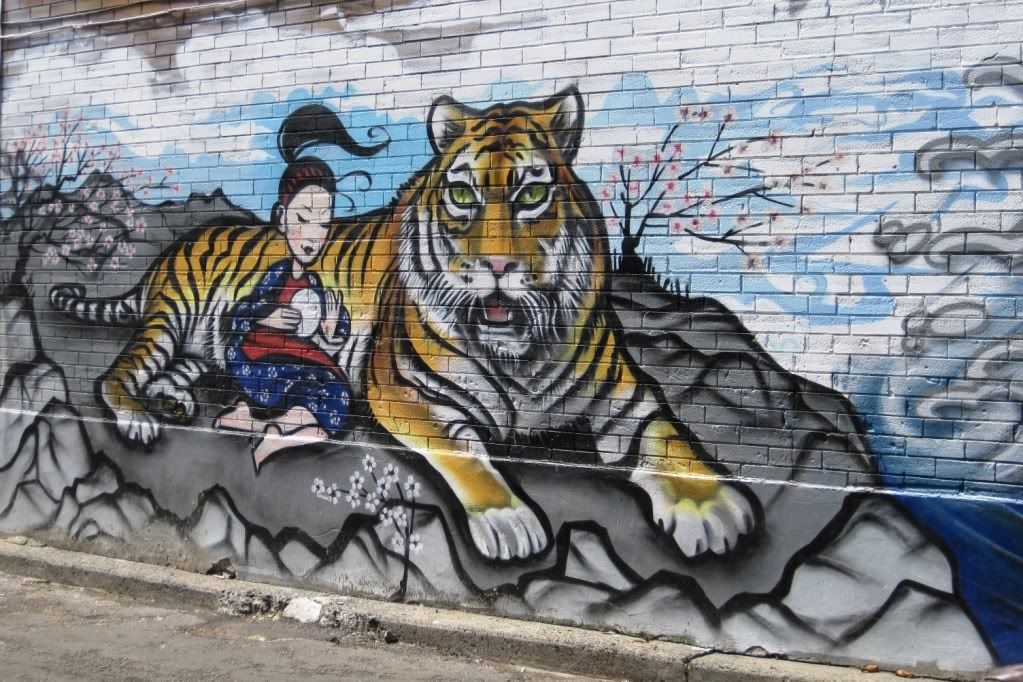
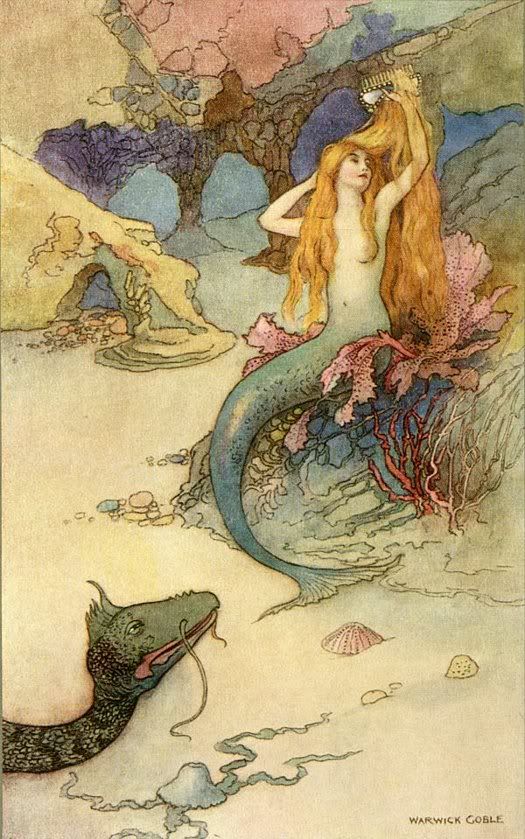
From Wiki Commons
In the Neighbourhood
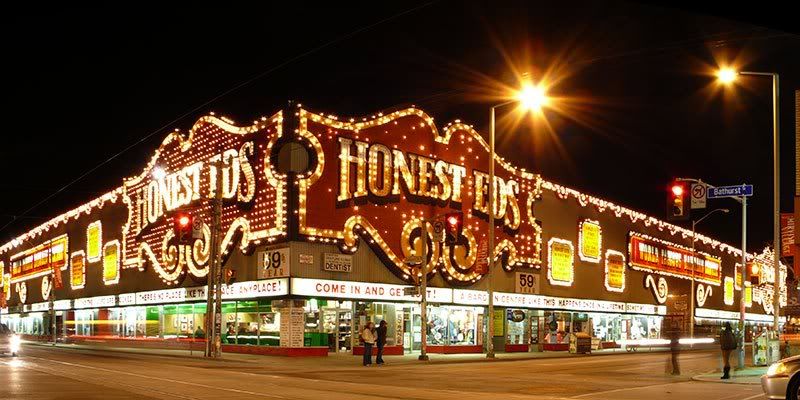
Earth Rocks is part of Mirvish Village and the Annex. Take a stroll up Bathurst and visit the home of Ed Mirvish himself at Honest Ed’s, Toronto’s flashy bargain store. Grab some second-hand books at BMV and head to Future Bakery to mingle with the U of T crowd.

NEW: Part two of Apricot Tarts' Best Bead Stores in Toronto.

Thursday, May 5, 2011

Mermaid Cove Jewelry

I've recently reorganized my Etsy shop so that it now features a series of jewelry lines. Among these is Mermaid Cove. The pieces combine precious metals and the fruits of the sea - coral, pearls, sea bamboo and shells. I was inspired by mythical ocean creatures, their golden hair and scaly flesh, and the water they flit and flirt through.

By Warwick Goble. From http://www.artpassions.net/
By Arthur Rackham
Silver Vintage Coral Earrings
Gold Vintage Coral Earrings
 I only use vintage coral branches. Coral reefs are endangered due to climate change, human negligence and over-harvesting.

Zircon, Apatite and Silver Chandelier Earrings
Zircon and apatite gemstones mimic water droplets and sparkling sun-dappled oceans.

Pearl, Sea Bamboo and Glass Necklace - Coming Soon!

Thursday, April 28, 2011

Pushing Daisies and How to Lengthen a Dress

I've recently become obsessed with Pushing Daisies, the quirky show that was canceled before its time. It pretty much combines everything I love: whodunits, baking, colourful dresses, romance, water sports, and a whole lot of funny. I completely covet Chuck's wardrobe of frilly blouses, vintage dresses, colourful coats, and pedal pusher pants.
Chuck seems to love yellow, so when I spotted a yellow sundress (with a daisy-like eyelet pattern, no less) for a rock-bottom price at Winners, I had to scoop it up. It turned out to be a definite fixer-upper. First it had a slit across the middle of the skirt right below the waistline that had been hastily sewn. Fortunately the skirt is quite full so it camouflages my stitching job.
Since it was a bit short for my liking and had a generous hem, I decided to lengthen it. This method only works if the dress/skirt has a hem of at least one inch as most of the extra length comes from the hem.

First, carefully let out the hem using a seam ripper or a pair of scissors. Make sure the bottom edge of your skirt fabric doesn't fray by running a zigzag stitch across the bottom (if the manufacturers haven't done this already).

Next, stitch a length of ribbon to the bottom of the skirt. The ribbon should closely match the colour and weight of the dress. I used a fine polyester ribbon with a width of 1.7 cm. Pin the ribbon to the dress so it just covers the zigzag stitch and sew it down.
Right side:
 Wrong side:
Hem your dress by flipping the ribbon under and pining it. This way, the hem is made up entirely of the ribbon, and all of the original dress material is being used for length.
 Use a blind stitch to sew the hem down. Here's a great video on blind stitching.

Tuesday, April 12, 2011

Labyrinth Inspired Masquerade Ball Earrings

I loved Labyrinth as a child. From the friendships to the adventure to (in my teens) David Bowie, the entire movie was totally enchanting! I re-watched it recently and was struck by the gremlin ball scene, especially Sarah's ballgown and hairpiece. It's a combination of silver ribbons and leaves cascading down with her hair.


I was inspired to make a pair of earrings that would give a similar effect as her hair accessory for the Craftster Jewelry and Trinkets Challenge 3. 


They'd be a great addition to a Halloween costume as Sarah, a fairy, and even a mermaid! If you want to make a pair for yourself, here's a quick tutorial:

Materials: Silver organza ribbon (0.5 to 1 cm wide), silver chain, silver wire, small round pearls, 2 faceted rock quartz round beads, 4 silver leaves, 2 silver jump rings, silver earwires, scissors, needle, light gray thread, round nose pliers, flat nose pliers, cutters.

Try to get a roll of organza ribbon. This will ensure that your ribbon is gently curled.

The following instructions are for one earring. Repeat to get a pair.

  • Cut three lengths of ribbon: 14 cm, 11.5 cm, and 8.5 cm. Cut the bottoms so that they come to a point. 
  • Create a chain of pearls 7 cm long by wire-wrapping 10 pearls together. See Jewelry Design 101: Wire-Wrapping Part 1 for instructions. Instead of starting with a ballpin, create a wrapped loop with a short length of wire, insert a pearl, and create another wrapped loop. Repeat with another pearl, but before closing the second wrapped loop, insert a loop from the first pearl you wrapped. Continue with the remaining 8 pearls. Before closing the second wrapped loop of the 8th pearl, insert a silver leaf.
  • Attach a wire-wrapped faceted rock quartz round and silver leaf to a 4 cm length of silver chain.
  • Layer the organza ribbons so that the longest and the shortest pieces curve in one direction and the medium piece curves in the opposite direction. Sew the three pieces of ribbon together along the top. 
  • Insert the pearl chain and the silver chain between the short and medium organza pieces. Sew them in place.

  • Sew a jump ring to the top of the organza ribbon cluster so that half if it peeks over the top. 
  • Sew another piece of ribbon perpendicular to the top of the organza ribbon cluster. Wrap it around the organza ribbon cluster a few times to cover up any visible stitches and the bottom half of the jump ring. Tuck the end in and secure it in place by sewing it down. 
  • Insert the jump ring through an ear wire.

Saturday, April 2, 2011

Craft Tutorial: Decoupage Map Box

I decoupaged and painted this box as a Christmas present for my boyfriend. He really liked it and it's held up quite well since December (despite being stacked and filled to capacity)!

Here's how I did it (and you can too):

Materials: a wooden box, a large atlas, mod podge or another type of liquid glue, acrylic paint, liquid acrylic varnish, masking tape, paintbrushes, construction paper, scissors, ruler, pencil, craft knife, screwdriver, sandpaper.

I found the box at a Value Village. It was handmade and a little beat up, but it was a great size and I liked the varnish colour. If you purchase a box from a thrift store, check the inside and avoid boxes that have had varnish seep inside. As you can see from the third photo, there are a few dark marks around the edges that I couldn't paint over properly.

Once I had the box and knew its dimensions, I purchased an atlas from a used bookstore (BMV in Toronto). I looked for one that was in good condition, and had plenty of colourful terrain maps large enough to cover the top of my box.

Directions:
  1. Measure and note the box dimensions. You will need these measurements to cut out your map panels.  
  2. Unscrew the hinge holding the top and bottom of the box together. Try to keep track of which screw went into which hole. I had the unfortunate surprise of finding that the original box craftsman used two different sized screws (and made different sized holes).
  3. Sand the inside of the box with medium to fine grain sandpaper. If you're covering the entire box, also sand the outside. I wanted to let some of the varnished wood peek through, so I skipped sanding the outside.
  4. Once the inside is clean of all wood dust, apply masking tape to the edges of the box that you don't want to paint (in my case, the exposed wood seen in the third picture). If you're going to leave some wood exposed, test a small piece by pressing down the masking tape and removing it. Some of the varnish may come off; in this case, don't press your masking tape down too much. 
  5. Paint the inside with acrylic paint. I chose a turquoise colour to mimic the gorgeous waters of the Caribbean. Paint three coats, waiting a few hours in between each coat. Once the paint has dried thoroughly - about 24 hrs - apply a thin coat of varnish using a clean paintbrush. Your brushstrokes should be going in the same direction. Wait about 6 hours and apply another thin coat of varnish. This time, change of the direction of your brush strokes by 90 degrees. This will create a crosshatch effect and make your brushstrokes less evident. Allow the box to dry 24 hours.
  6. Using the measurements from step 1, create a viewfinder for the top and sides of the box. Draw a rectangle the same size as the top of the box onto construction paper or parchment paper. Cut out the rectangle and discard. Use the remainder as a viewfinder. Repeat with the sides of the box.
  7.  Using the viewfinders, find your preferred map images for the top and sides of the box. I chose a map of northern Canada because I'm a patriotic gal, and maps of the Caribbean, north Africa, southeast Asia and Greece because they're lovely travel destinations. Using a ruler and pencil, lightly trace out the dimensions for the top and sides of the box onto your maps and cut out the panels. 
  8. Cover the exposed wood with masking tape. Paint a thin coat of Mod Podge onto the box and paste your panels. This should be done one panel at a time, allowing for drying time in between. Smooth down any wrinkles immediately. Once the glue has dried, apply a 2 thin coats of Mod Podge onto the panels, allowing for drying time in between. Once the glue has dried 24 hours, apply a thin coat of acrylic varnish and allow it to dry. This last step is to eliminate the tackiness of Mod Podge.
  9. Screw the hinge back on.
  10. Admire your hard work!