Basics
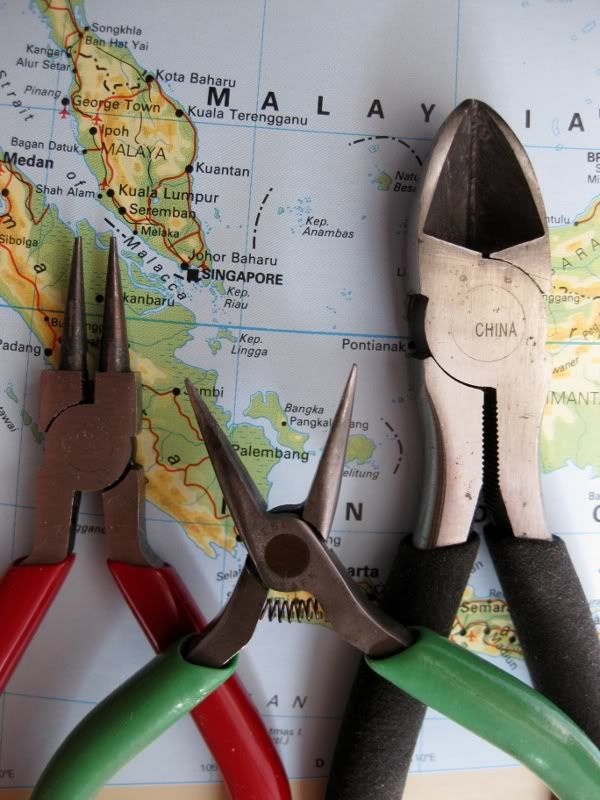
You will need: beads, wire, headpins/ballpins, round-nose pliers, flat-nose pliers, and cutting pliers. I suggest that beginners use craft wire to practice. From left to right: round-nose pliers, flat-nose pliers, cutters.
You will use round-nose pliers to shape round loops, flat-nose pliers to tuck in loose ends, and cutters to cut your wire.
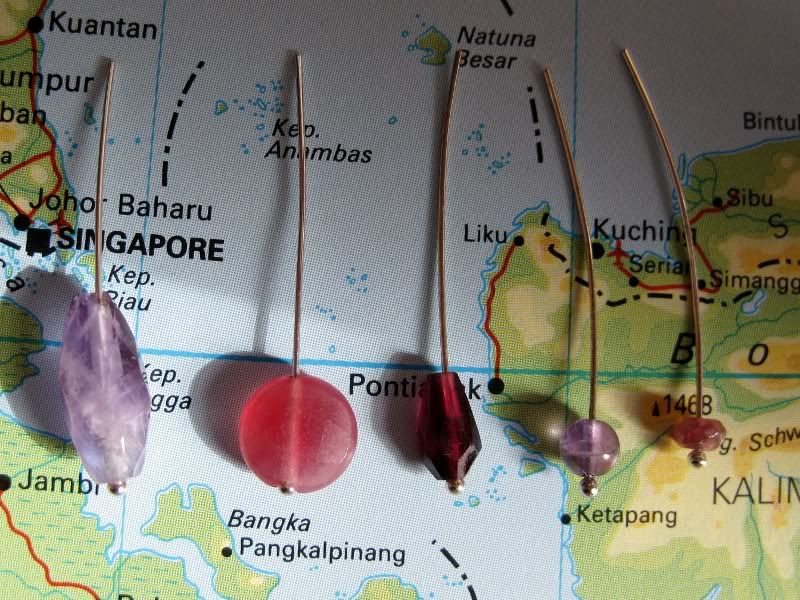
There are two types of beads: centre-drilled and top-drilled. The positioning of the hole determines the wire-wrapping technique you will use.
In centre-drilled beads, the hole runs from top to bottom through the middle of the bead.
From left to right: elongated drop bead, coin bead, teardrop briolette, round bead, rondelle.
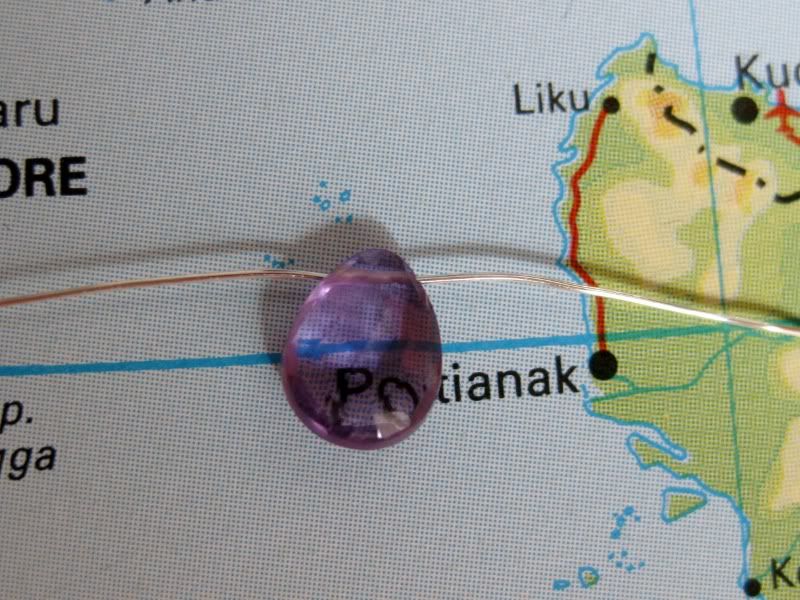
In top-drilled beads, the hole runs from left to right through the top of the bead.
Flat briolette.
How-To Wire-Wrap Centre-Drilled Beads
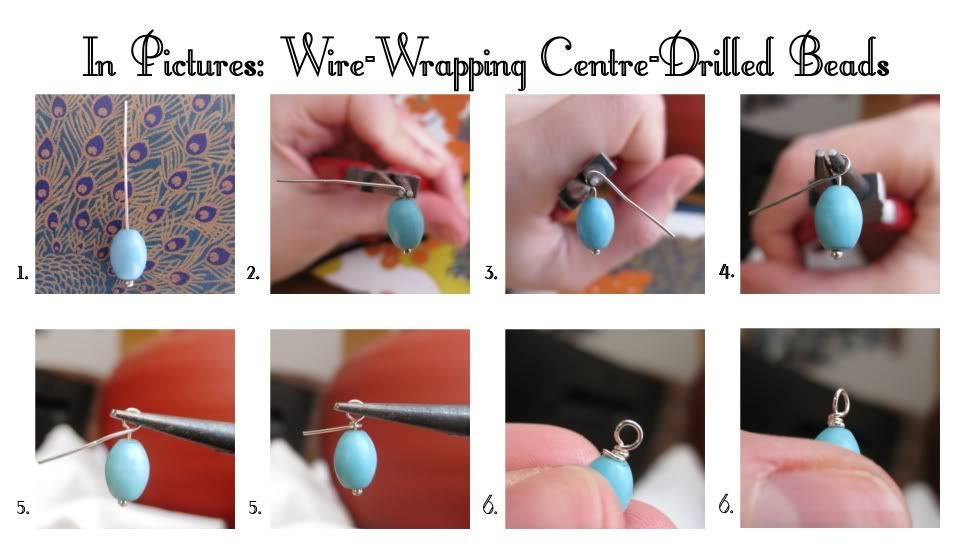
- Insert ballpin into bead.
- Grasp wire with round-nose pliers (pliers should be flush with the top of the bead). Bend wire at a 90 degree angle.
- Reposition pliers and grasp the wire just past the bend. With your fingers, wrap the wire around the round jaw of the pliers to create a loop.
- Reposition pliers and continue wrapping wire around the pliers until you form a complete loop. *At this point, you may choose to insert another looped wire, or a chain link into the loop before closing it. This is optional.
- Grasp the loop with the round-nose pliers and use your fingers to wrap the wire around the base of the loop 2 to 3 times.
- Using your cutting pliers, cut the excess wire flush with the bead. Tuck in the end of the wire with the flat-nose pliers.
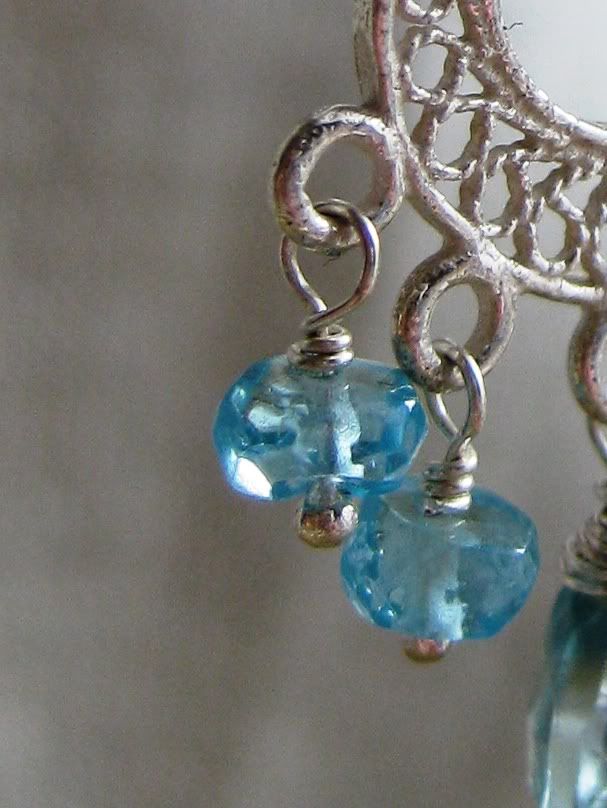
Above is a finished product. In this case, I inserted a chandelier finding into the loop before closing it (step 4).
In the next installment, I will show you how to wire-wrap a top-drilled bead.

No comments:
Post a Comment