

Happy New Year everyone! I made these felt birds as tree decorations, but they could be used for a bird mobile or kooky present adornments.
How To:
1. I used Becca's DIY fabric bird template with a few alterations. I only used the body and wing pieces (not the belly piece). I also snipped off the beak from both pieces of the body and added a yellow felt beak.
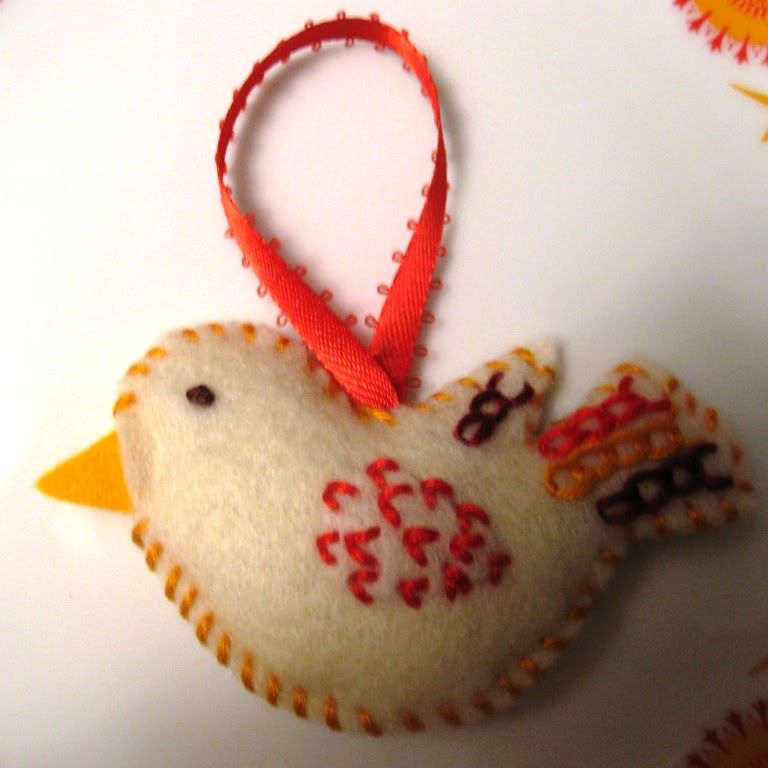 | 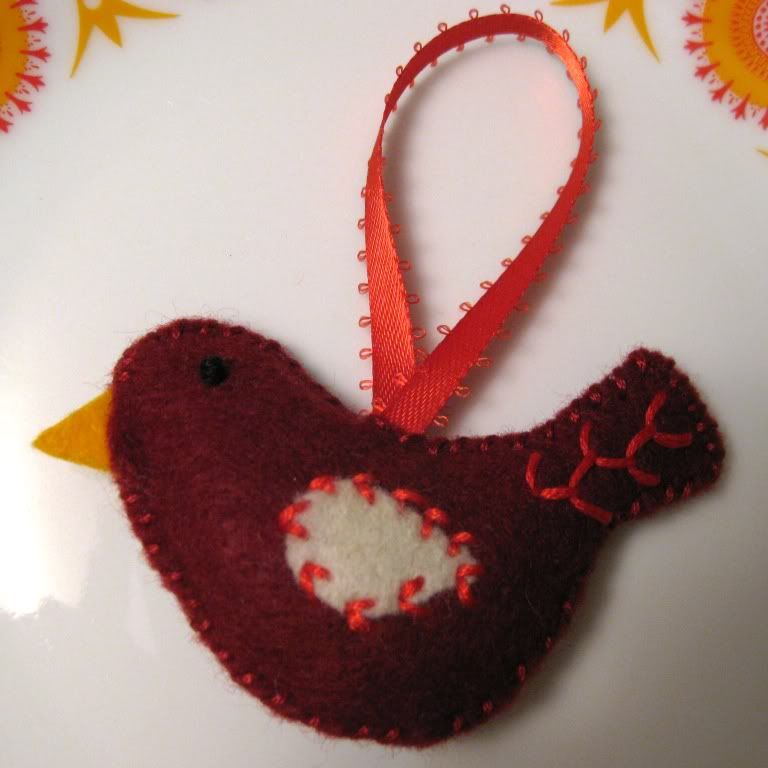 |
2. After cutting out two body pieces and two wing pieces, I embroidered the tail and wings with colourful embroidery floss. I had never embroidered before, but I found it quite easy to learn by googling "embroidery stitches" and following the diagrams that pop up. For the white, yellow and red bird, and for the dark red bird, I used a v-shaped stitch (I improvised, and I don't know the correct terminology for this stitch) to embroider the wings and to attach the wings to each body piece. I used a chain stitch for the white, yellow and red bird's tail, a feather stitch for the dark red bird's tail, and a feather stitch combined with french knot stitches for the tail of the white, green and blue bird. To make the eyes, I used a french knot stitch.

3. To make the beak, I cut out two triangles from yellow felt and glued them together to make a thicker felt beak. After decorating each of the two body pieces with different embroidery designs, I glued the edge of the felt beak to the wrong side of one of the body pieces - A. I then lined up the other body piece - B - (so that the wrong sides faced each other, with the beak in the middle) and glued the edge of the beak to body piece B.
4. After the glue dried, I used a whip stitch to stitch the body pieces together. Starting at the base of the beak, I made my way around the edge of the body until the base of the tail. I stuffed the bird with pieces of white acrylic yarn (much cheaper than polyester stuffing!) and continued stitching until the middle of the bird's back. At this point, I inserted a looped piece of ribbon between the two body pieces and stitched through it to attach it. I continued the whip stitch until the top of the beak, stuffing more white yarn as I went.

Variations:
For the white, yellow and red birdie, I added an extra "wing" to the body pieces, right above the tail. For the white, green and blue bird, I cut out two extra wing pieces out of green felt and glued one to each of the body pieces (wrong sides). When it came to whip stitching around the edge, I stitched the extra wing with a different colour floss. For the white, green and blue bird, I also cut out extra large wings and glued them to each body piece before embroidering a feather and v stitch in the middle of each wing.
No comments:
Post a Comment